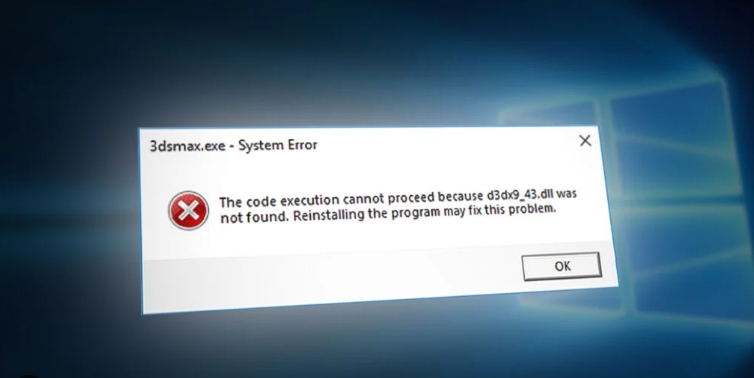
1. Install via Windows Update
Windows systems typically provide the latest DirectX version through updates. You can follow these steps:
- Open “Settings” (Windows key + I).
- Click on “Update & Security”.
- Under “Windows Update”, click “Check for updates” and install all available updates.
2. Use DirectX Repair Tool
The DirectX Repair Tool can conduct a more thorough system scan, detecting various potential DirectX-related issues and accurately repairing them. Here’s how:
- Download and extract the DirectX Repair Tool.
- Run the tool and click the “Detect and Repair” button.
- The tool will automatically detect missing DirectX files on your computer and repair them.
- After the repair is complete, restart your computer if necessary.
3. Manually Install DirectX
For Windows 7 users or those needing a specific DirectX version, you can manually install or update by downloading the DirectX End-User Runtimes installation package from a trusted source. Follow the installation wizard’s instructions to complete the installation.
4. Use System Restore
If you created a system restore point previously, you can use system restore to revert your system state to a previous point, potentially resolving the DirectX issue. Follow these steps:
- Open “Control Panel”.
- Search for and click on “Recovery”.
- Click “Open System Restore”.
- Choose an appropriate restore point (ideally one from before the issue occurred).
- Follow the on-screen instructions to complete the restore process.
5. Check Hardware Compatibility
Ensure your graphics card driver is up-to-date and compatible with your DirectX version. Sometimes, old or incompatible graphics card drivers can cause DirectX-related issues. Visit the graphics card manufacturer’s official website to download and install the latest driver.
6. Disable Antivirus Software
Sometimes, antivirus software may falsely report or block DirectX-related files. Try temporarily disabling your antivirus software when installing or running games to see if it resolves the issue.
7. Run as Administrator
Ensure you run games or installation programs as an administrator, which can sometimes resolve permission issues.
8. Use System File Checker (SFC)
SFC is a built-in Windows utility that can scan and repair system files. When DLL files are missing or corrupted, SFC can automatically repair them. Follow these steps:
- Press “Win + X” and select “Windows PowerShell (Admin)”.
- In the command prompt window, type the command “sfc /scannow” and press Enter. The system will automatically scan for and repair damaged system files.


